With this app, you can keep your worked hours, salary, overtime, breaks, expenses, and taxes clearly organized in one place.
To get started, create a record from the main screen:
You can fill in any fields you want, such as name, date, start time, end time, hourly rate, and any other details you want to save. You can also add overtime, breaks, expenses, or taxes if needed. None of these fields are required, so you can use the app in a simple way or in a more detailed way depending on your needs. When everything is ready, tap Save:
Once the record is saved, it will appear on the main screen, where you can edit it later if needed. In this example, you can see that the app has added together the regular hours and tips:
Yes. You can use the app in a very simple way to manage a single job by saving all your records from the main screen and checking your worked hours and earnings whenever you need.
You can use this app in different ways, depending on how you want to organize your records:
Open the side menu and go to the Jobs section. The first time you open it, the app will ask you to rename this section, and you can call it whatever you want. For example, you can rename it to Projects or Clients:
In this section, you can create your different projects or clients and save details such as the name, hourly rate, and overtime rate.
Once your projects or clients are created, you can assign each new record to the correct one.
Later, you can use the filter button at the top of the screen to filter by project or client, check earnings and overtime separately, and create PDF reports for those projects or clients.
Open the side menu and go to the Jobs section. The first time you open it, the app will ask you to rename this section, and you can call it whatever you want.
In this section, you can create your different jobs and save details such as the job name, hourly rate, and overtime rate.
Once your jobs are created, you can assign each new record to a specific job.
Later, you can use the filter button at the top of the screen to filter by job, check earnings and overtime for each one, and create PDF reports for those jobs.
If you run a business and need to track your employees’ worked hours, this app can help with that too.
Open the side menu and go to the Jobs section. The first time you open it, rename it to Workers or Employees.
In this section, you can create your different worker profiles and save details such as their name, hourly rate, and overtime rate.
Once your workers are created, you can assign each new record to a specific worker.
Later, you can use the filter button at the top of the screen to filter by worker, check earnings and overtime for each one, and create PDF reports for individual workers.
With this new feature, you can set a work schedule or define the number of regular working hours for a job, so the app can automatically calculate overtime.
From the Jobs, Employees, or whichever name you have chosen for that section, you can assign a work schedule or set the total number of regular hours per day.
Any hours that exceed that schedule or daily regular-hours limit will be counted as overtime. This allows the app to calculate overtime automatically.
We have added an optional field where you can enter taxes or deductions to be subtracted from the total. You can set them in the job settings or add them manually to each individual record.
We have also added gross and net earnings to the summaries when taxes or deductions are entered.
Press and hold a record to copy or duplicate it to other dates. This is very useful when you have repeated shifts or similar workdays and want to save time instead of creating each record manually.
On the main screen, you can choose a time range to view only the records you need. You can filter your records by day, week, biweekly period, month, or even set a custom date range.
This way, you will only see the records within the selected period, along with the overtime hours and earnings calculated for that specific range.
Use the search/filter button at the top of the screen to filter your records by job, employee, client, project, or any other profile you have created.
This makes it easy to view only the records related to that specific profile, check worked hours, overtime, and earnings separately, and create PDF reports with those filtered results.
Once you have filtered the data you want to export, tap the printer button on the main screen.
From this screen, you can select the period you want to include in the report and choose how to group your records, such as by days, weeks, or months.
At the bottom of the screen, you can customize the report layout, select specific jobs, employees, clients, or projects depending on how you have configured the app, and choose which columns you want to include in the final report.
From the Reports tab in the side menu, you can customize your PDF report and adapt it to different uses, such as an invoice, a payslip, or a work summary.
You can add the information you need, including your company name, address, contact details, logo, and other custom details.
You can also customize the report background to give your PDF a more professional and personalized look.
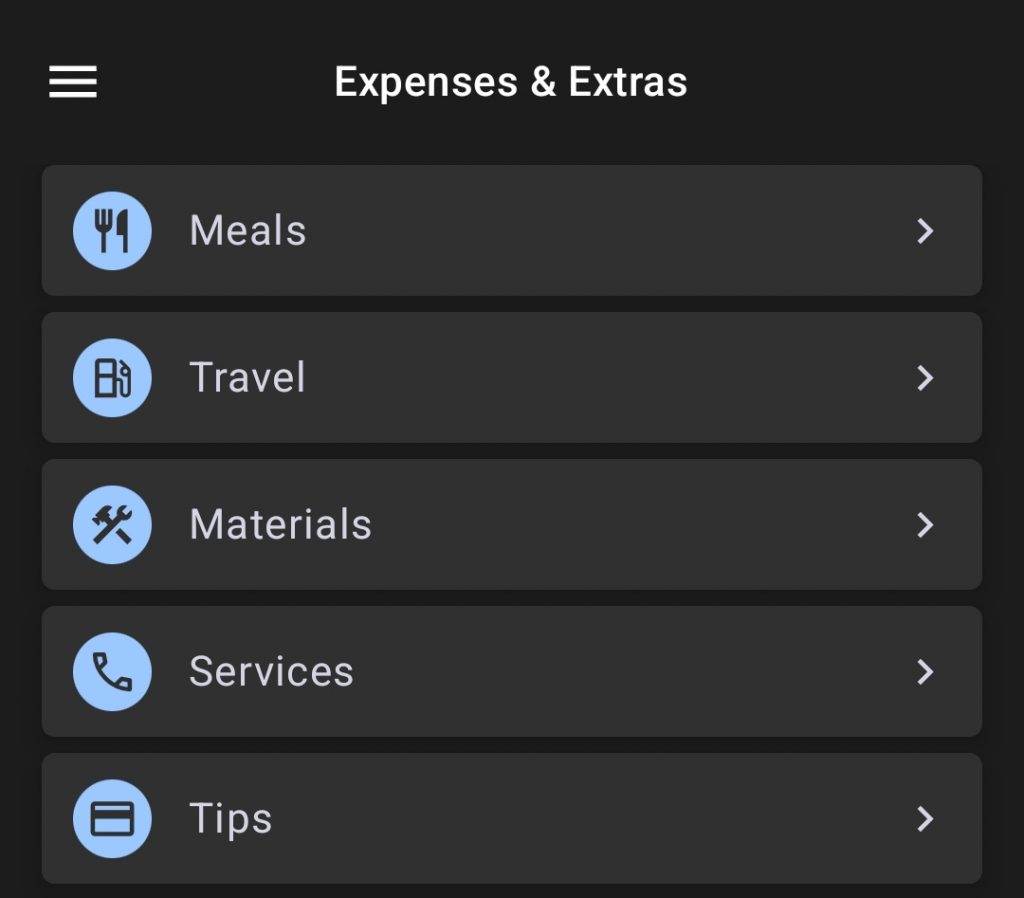
In the side menu, you will find an Expenses and Extras section. From there, you can create or edit the expenses and extra payments you use, such as mileage, meals, bonuses, or tips.
The app includes a few standard expenses and extras by default, but you can modify them or create new ones based on your needs.
When creating a record, you can add expenses and extras using the following button:
From Settings > Backups, you can create and restore backup files to protect your data and avoid losing records if your device is lost, damaged, or replaced.
We strongly recommend using the daily automatic backup option to help protect your data from loss.
Backup options:
- Create manual backup: Creates a
.jsonfile with all your data. You should save this file in a safe place. - Restore backup: Allows you to select a backup file and restore your saved data.
- Automatic backups: Lets you configure automatic backups on a daily, weekly, or monthly basis. We strongly recommend choosing a cloud-synced folder, such as Google Drive, OneDrive, or iCloud, as the backup location.
In the Settings tab, you will find several options to customize the app based on your preferences.
For example, you can change the first day of the week, the currency, the currency format, the time format, such as 12-hour AM/PM or 24-hour time, and other app settings.
You can use this option from the side menu to contact us more quickly and easily through WhatsApp.
If you have any questions, please contact us and we will be happy to help, as always!
You can reach us at info@trascostudios.com or through WhatsApp using the option in the app’s side menu.
Still need help?
Contact us at info@trascostudios.com